
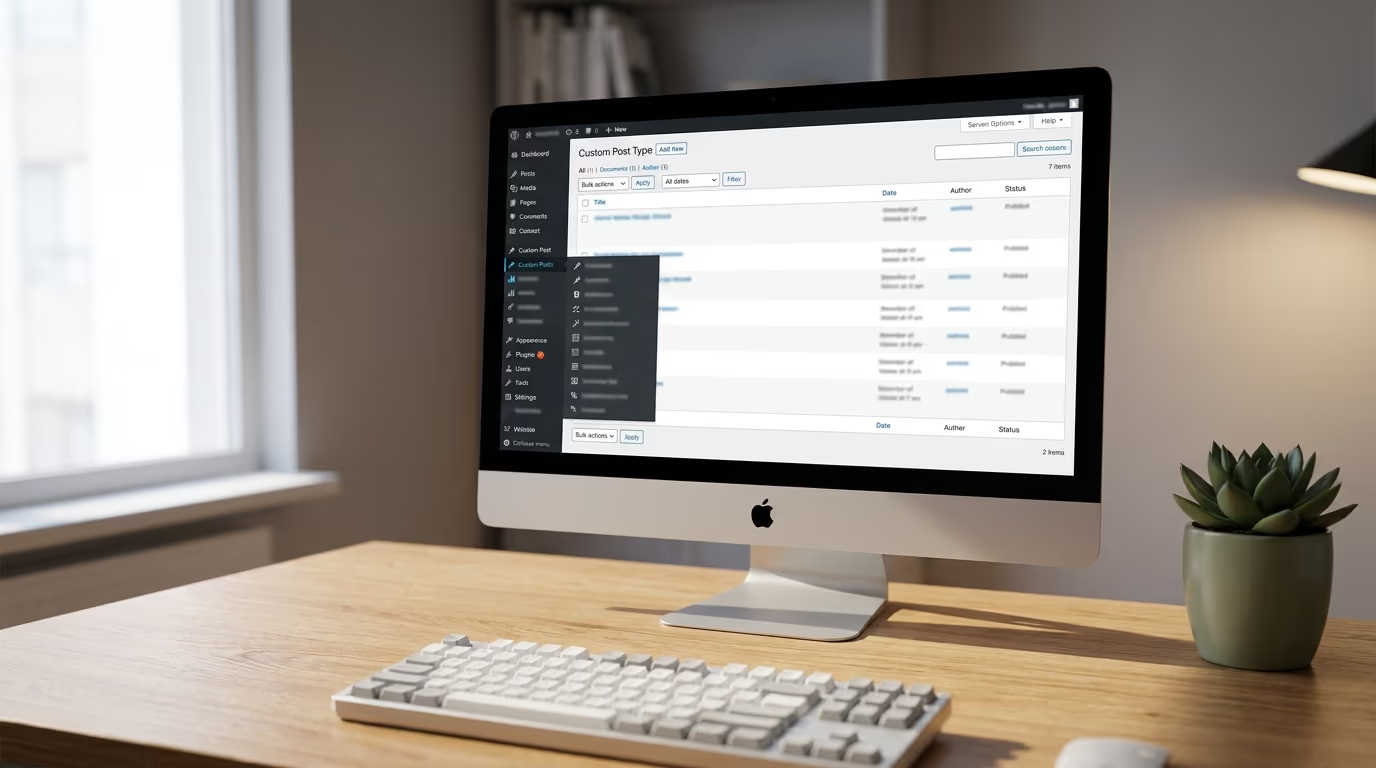
Custom post types let you store and display content that doesn’t fit into standard WordPress posts or pages. They’re one of the main reasons WordPress works as a full content management system, and they’ve been a core feature since version 3.0 back in 2010. If your site needs portfolios, testimonials, events, courses, or any structured content with its own listing and templates, a custom post type is how you build it.
WordPress ships with five built-in post types: posts, pages, attachments, revisions, and navigation menus. These cover blogging, static pages, and media, but they don’t help when your content needs a dedicated admin section, a separate archive page, and fields that posts don’t have. That’s where custom post types come in, and they’re easier to set up than most people expect.
The approach you pick depends on your comfort with code and how much control you need. You can register a custom post type with a single PHP function, or you can use a plugin that gives you a visual interface for the whole process. Both methods produce the same result in the database, and both work with the block editor in WordPress 7.0.
What are custom post types in WordPress?
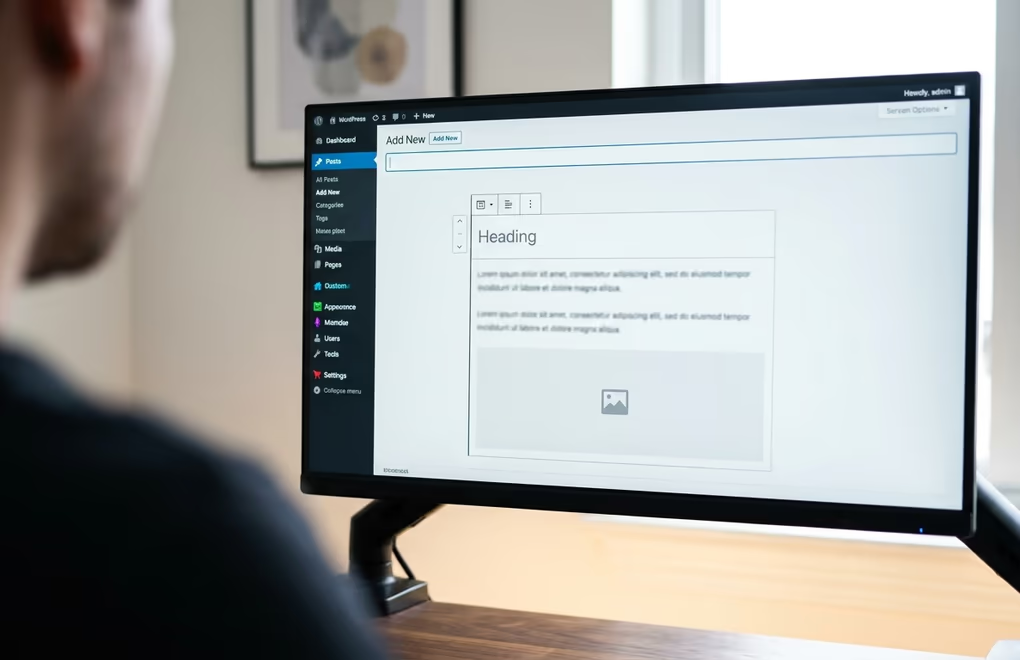
A custom post type is a content type you define yourself, stored in the same wp_posts database table as regular posts and pages but with its own post_type value. WordPress treats each custom post type as a separate bucket of content, with its own admin menu item, its own archive URL, and its own single-item template. When you register one called “portfolio”, WordPress creates a new menu entry in the dashboard, a listing page at /portfolio/, and individual pages for each portfolio item.
Under the hood, the data structure is identical to posts. Every custom post type entry has a title, content, slug, date, author, and status, all stored in the same columns. The difference is organizational: WordPress filters the admin list, the front-end queries, and the REST API endpoints by post type, so your portfolios never mix with your blog posts.
Custom post types can have their own taxonomies (like categories and tags but specific to that content type), their own custom fields for structured data, and their own template files in your theme. You can control every detail: whether the post type is public or private, whether it has an archive page, which editor features it supports, and who can create or edit entries based on WordPress user roles.
The built-in post types you already use are technically custom post types that WordPress registers for you during setup. Posts use post_type = 'post', pages use post_type = 'page', and attachments use post_type = 'attachment'. When you register your own, you’re using the exact same system WordPress uses internally, which is why custom post types are so stable and well-supported across themes and plugins.
When should you create a custom post type?

You should create a custom post type whenever your content has a different structure, purpose, or display pattern than your regular blog posts. The clearest sign is when you’re using categories or tags to separate content that doesn’t belong together. If you’re tagging blog posts as “portfolio” and then filtering your archive to show only those, a custom post type will give you a cleaner setup with less code.
Common use cases include portfolios (each item has a client name, project URL, and gallery), testimonials (a quote, the person’s name, their company, and a headshot), events (a date, time, location, and registration link), team members (a bio, role, photo, and social links), and products (a price, description, images, and specifications). All of these need fields that don’t exist on standard posts, and they all need their own listing page that looks different from your blog.
The decision test is simple: does this content need its own listing page, its own set of fields, and its own template? If the answer is yes to at least two of those, a custom post type is the right move. If you only need to group blog posts differently, categories and tags already handle that without the overhead of a new post type.
One common mistake is creating too many custom post types for content that could share one. If your “case studies” and “portfolio projects” have the same fields and the same layout, use one post type with a taxonomy to separate them. Fewer post types means less code to maintain, fewer template files, and a simpler admin experience. The goal is to match your site’s real content model, not to create a new post type for every page that looks slightly different.
How do you register a custom post type with code?

You register a custom post type by calling register_post_type() inside a function hooked to WordPress’s init action. The function takes two arguments: a slug (the internal name, lowercase, no spaces) and an array of configuration options that control everything from the admin labels to the URL structure. Put this code in a small custom plugin rather than your theme’s functions.php, because a theme swap shouldn’t delete your content types.
Here’s a working example that creates a “Portfolio” post type with block editor support, an archive page, and a custom menu icon:
function digihold_register_portfolio() {

  $args = array(

    'labels' => array(

      'name' => 'Portfolios',

      'singular_name' => 'Portfolio',

      'add_new_item' => 'Add New Portfolio',

      'edit_item' => 'Edit Portfolio',

      'all_items' => 'All Portfolios',

    ),

    'public' => true,

    'has_archive' => true,

    'show_in_rest' => true,

    'supports' => array( 'title', 'editor', 'thumbnail', 'excerpt' ),

    'menu_icon' => 'dashicons-portfolio',

    'rewrite' => array( 'slug' => 'portfolio' ),

  );

  register_post_type( 'portfolio', $args );

}

add_action( 'init', 'digihold_register_portfolio' );
The show_in_rest argument is the most important one to get right. Setting it to true enables the block editor (Gutenberg) for your custom post type, and it also exposes the post type through the WordPress REST API. Without this, your post type will fall back to the classic editor, and you won’t be able to use modern block plugins or build headless front-ends that query your content.
The supports array controls which editor features appear. Common values include title, editor (the content area), thumbnail (featured image), excerpt, custom-fields, page-attributes (for ordering), and revisions. Only include what your content type actually needs, because each supported feature adds UI elements to the editor screen.
After adding the code, visit Settings > Permalinks in your dashboard and click “Save Changes” without changing anything. This flushes the rewrite rules so WordPress recognizes your new archive URL. Skipping this step is the number one cause of 404 errors on custom post type archives, and it catches almost everyone the first time.
Which plugins make custom post types easier?
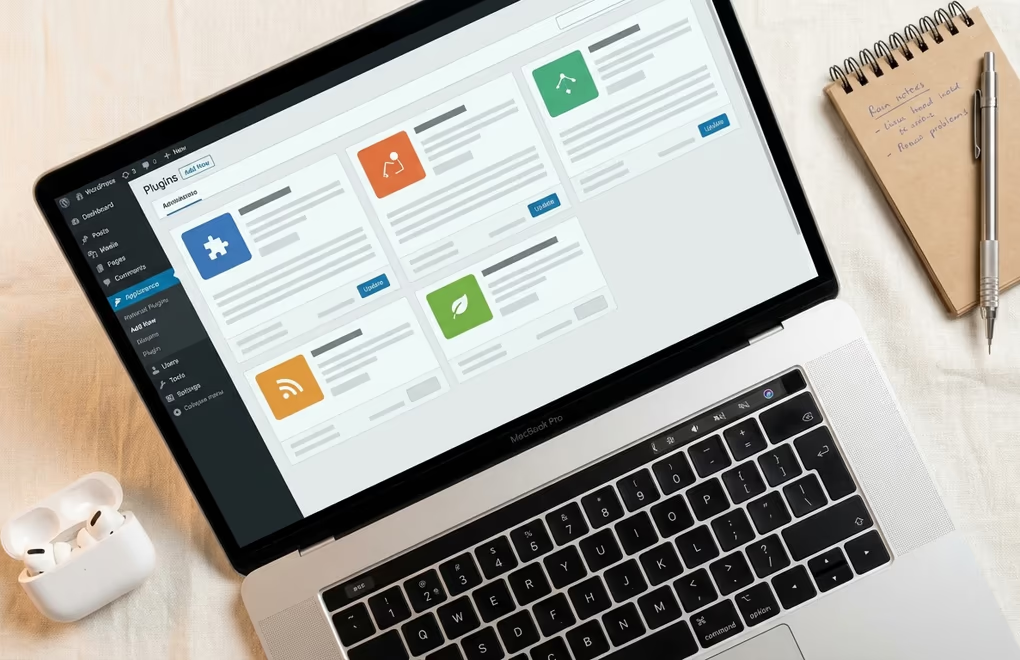
Custom Post Type UI (CPT UI) is the most widely used plugin for creating custom post types without writing PHP. It gives you a form-based interface where you fill in the post type slug, labels, and settings, and it generates the registration code for you. The plugin is free, it’s been around since 2010, and it works well with WordPress 7.0. You can also export the generated code and paste it into your own plugin if you want to remove the dependency later.
For adding custom fields to your post types, Advanced Custom Fields (ACF) is the standard choice. It lets you attach field groups (text inputs, image uploads, date pickers, relationship fields, repeaters, and more) to any post type through a drag-and-drop builder. The free version covers most use cases, and ACF Pro ($49/year for a single site) adds repeater fields, flexible content layouts, and the options page. ACF stores field data in the wp_postmeta table, so all your custom field values are accessible through standard WordPress functions.
Pods is a free alternative that combines post type registration and custom fields in one plugin, and it also handles custom taxonomies and relationships between content types. Meta Box takes a developer-first approach with a PHP API for defining fields and a paid extension library for visual builders. Toolset (from $69/year) bundles post types, fields, and template building into one commercial package, which can simplify things if you want a single vendor for the whole setup.
The question of plugin versus code comes down to who maintains the site. If a non-developer client manages the site and needs to adjust post type settings, a plugin with a UI makes sense. If you’re a developer building a product or a client site you’ll maintain long-term, registering the post type in a custom plugin gives you more control and removes a dependency. The output is the same either way, because plugins like CPT UI just call register_post_type() behind the scenes.
How do you add block editor support to custom post types?
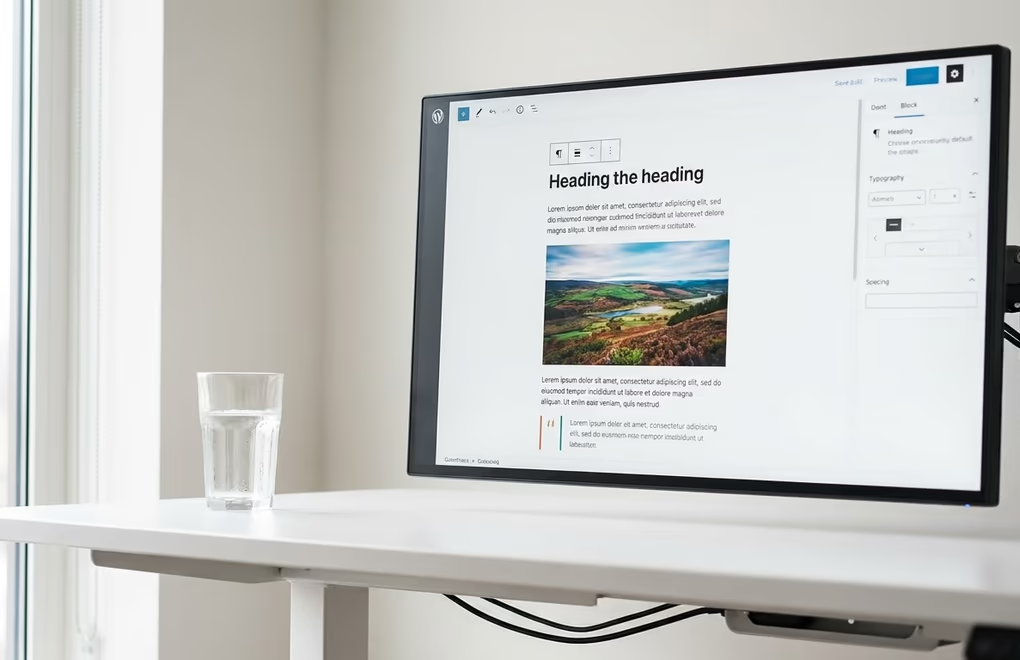
Adding block editor support starts with setting show_in_rest to true in your register_post_type() call, and making sure editor is included in the supports array. Without both of these, WordPress will load the classic editor for your custom post type, even on sites running WordPress 7.0 where the block editor is the default for standard posts and pages.
Once the block editor is active, you can go further by defining a block template that pre-loads specific blocks when someone creates a new entry. This is useful when every item in your post type should follow the same structure. For a testimonial post type, you might want a quote block followed by a paragraph block for the person’s name and role. You set this up with the template argument in your registration:
'template' => array(

  array( 'core/quote' ),

  array( 'core/paragraph', array( 'placeholder' => 'Client name and company' ) ),

  array( 'core/image' ),

),
If you need to lock the template so editors can’t add, remove, or reorder blocks, add 'template_lock' => 'all' to the registration arguments. Setting it to 'insert' instead prevents adding or removing blocks while still allowing reordering. This gives you tight control over the content structure without building a custom meta box interface from scratch. Block-based plugins like DigiBlocks give you even more block types to use in these templates.
For the front end, WordPress looks for template files in a specific order when displaying your custom post type. A single item uses single-{post_type}.php (so single-portfolio.php for our example), and the archive page uses archive-{post_type}.php. If you’re using a block theme with full site editing, you create these templates in the Site Editor instead, which means you can build the layout visually using blocks without touching PHP template files at all.
Custom post types also work with the block editor’s pattern system. You can create block patterns that are specific to your post type, so editors can insert pre-designed sections with one click. Combined with template locking, this gives you a content entry workflow that’s structured enough to keep things consistent but flexible enough that non-technical editors can fill in the content without breaking the layout.
What mistakes should you avoid with custom post types?

The most common mistake is putting the registration code in your theme’s functions.php instead of a custom plugin. When you switch themes, all your custom post types disappear from the admin, and your content becomes invisible on the front end. The data stays in the database, so nothing is lost permanently, but your site breaks until you re-register the post types. A small standalone plugin with just the registration code avoids this entirely, and it takes about two minutes to set up.
Choosing a slug that conflicts with existing WordPress URLs is another frequent problem. Slugs like “type”, “status”, “author”, “category”, “tag”, or any WordPress reserved term will cause silent routing conflicts that are hard to debug. Keep your slugs descriptive and specific to your content: “portfolio”, “testimonial”, “event”, “team-member” are all safe choices that won’t collide with anything WordPress uses internally.
Over-engineering the data model is a subtler issue. Creating a separate post type for every slight variation of content leads to a bloated admin menu and duplicated template code. Before you register a new post type, check whether a taxonomy on an existing post type would solve the problem. If “news articles” and “press releases” share the same fields and layout, they’re probably one post type with a taxonomy to distinguish them.
Forgetting to flush permalinks after registration causes 404 errors on archive and single pages, and it’s the most frequently asked question in WordPress support forums about custom post types. The fix is to visit Settings > Permalinks and click “Save Changes”, which regenerates the rewrite rules. In production, you can call flush_rewrite_rules() on plugin activation so this happens automatically, but never call it on every page load because it writes to the database each time.
Skipping show_in_rest locks your post type out of the block editor and the REST API, which limits how you can query and display the content. Unless you have a specific reason to keep a post type private and classic-editor-only, always set show_in_rest to true when you register it. This also enables proper capability mapping through the REST API, so your permission model works correctly across the admin and any headless front end.
Start building your first custom post type
Custom post types haven’t changed much since WordPress 3.0, and the code you write today will work the same way in future versions. Pick the content type that fits your site best (a portfolio, a set of testimonials, a list of team members), register it with the code example above or through a plugin like CPT UI, and add the custom fields you need with ACF. Start with one post type, get it right, and add more only when your content genuinely needs a separate structure.
If you’re building with Gutenberg blocks, remember to set show_in_rest to true and define a block template so editors get a consistent starting point. The combination of a well-defined post type, a locked block template, and a few targeted custom fields gives you a content entry workflow that’s fast for editors and reliable for developers.




0 Comments on "WordPress Custom Post Types: When and How to Create Them"