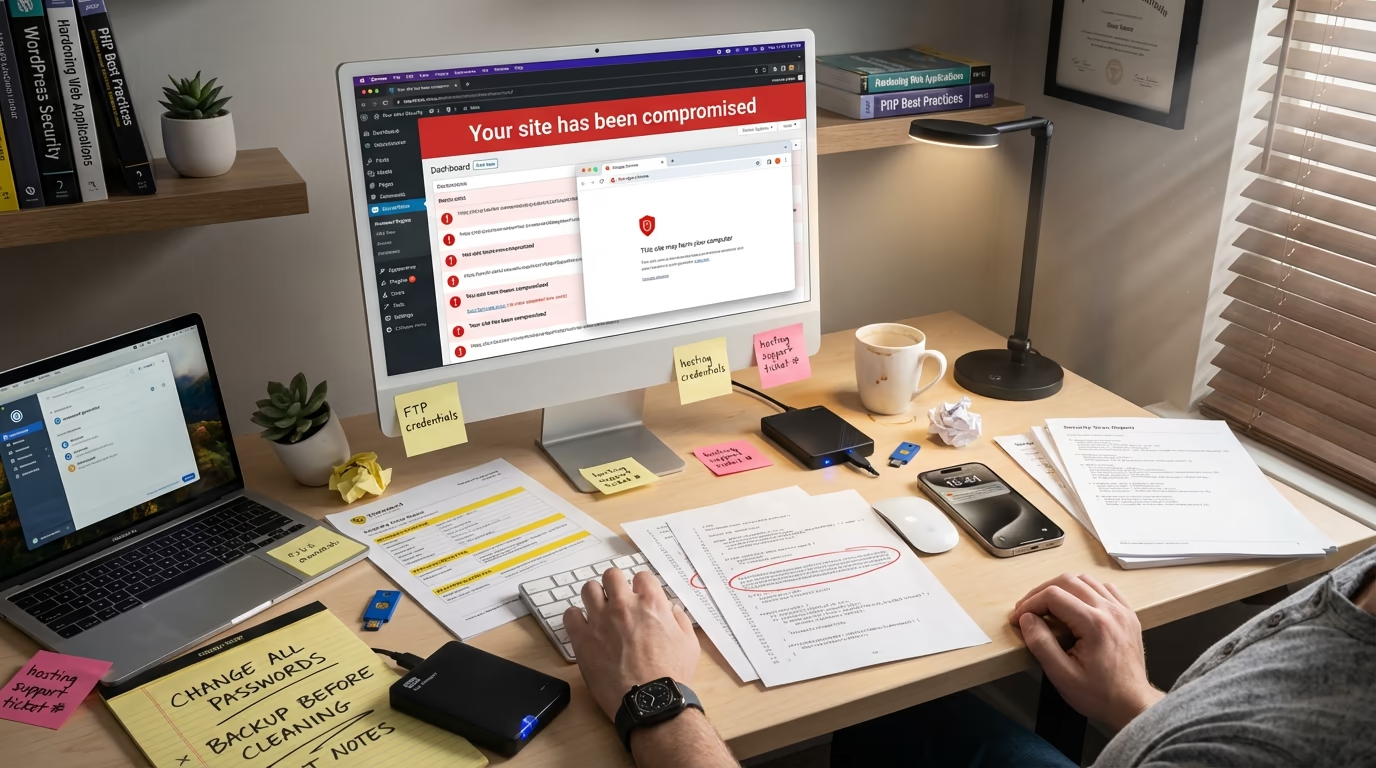
Your WordPress site got hacked, and the panic is immediate. Your heart is racing, your palms are sweating, and you’re staring at spam links where your homepage used to be. Maybe you’re locked out entirely, or perhaps Google is showing that terrifying “This site may harm your computer” warning to every single person who tries to visit your website. Whatever brought you here, I understand completely, and the panic you’re feeling is real.
Here’s the thing though: the WordPress hacked recovery process isn’t impossible. Roughly 30,000 websites get hacked every single day, and 92% of successful WordPress breaches in 2025 came from vulnerable plugins and themes rather than the core software itself, which means the attack vectors are well understood and the solutions are proven. Most hacked WordPress sites can be fully recovered without losing data, and you can do this yourself.
We’ve helped dozens of site owners through this nightmare, and that feeling of violation when someone hijacks your digital property is completely valid. But panicking makes things worse, way worse actually. What you need right now is a clear, methodical approach to identify what happened, clean the infection thoroughly, and prevent it from ever happening again.
This guide walks you through the complete WordPress hacked recovery process from start to finish. You’ll learn how to identify the type of hack you’re dealing with, remove malware without paying expensive professional fees that typically run from $200 to $500 or more, restore your site to full functionality, and implement security measures that actually work in the real world against real threats. All you need is patience and attention to detail, so let’s get your site back.
Signs Your WordPress Site Has Been Hacked
 1")
Before diving into recovery, you need to confirm your site is actually hacked and understand what type of compromise you’re dealing with. Some symptoms hit you in the face immediately, while others hide beneath the surface for weeks or months before anyone notices. Early detection makes cleanup exponentially easier.
Unexpected redirects rank among the most common hack indicators. You try to visit your site and suddenly find yourself on a casino website, a pharmaceutical site, or something even worse. Sometimes the redirect only triggers for mobile users or visitors coming from search engines, which makes it maddeningly tricky to spot when you’re testing from your desktop. Check your site from different devices and through Google search results to catch these conditional redirects that hackers specifically design to evade detection by site owners.
Strange content appearing on your pages signals injection attacks, including spammy links to products you’ve never heard of, weird pop-ups, and entire pages you didn’t create. Hackers inject this content to boost SEO for their own sites or run scam operations through yours, so look through your pages carefully and pay special attention to footers and sidebars where hidden links love to lurk.
Being locked out of your WordPress admin dashboard is perhaps the most alarming sign of all. Your usual login credentials suddenly stop working, you’re redirected away when trying to access /wp-admin/, and someone has clearly changed your password or created backdoors in your system. This isn’t a forgot-password situation, this is an attack.
Google Search Console warnings or browser security alerts mean Google has detected malicious content. Your site displays “This site may be hacked” in search results or shows full-page warnings to visitors, which is devastating for both traffic and reputation. However, it’s actually helpful because these warnings confirm the hack definitively so you can stop second-guessing yourself and start fixing things.
Unknown administrator accounts appearing in your Users section is a dead giveaway. Hackers create their own admin accounts specifically to maintain access even after you change passwords, so go through your user list carefully and question any account you don’t recognize, especially those with administrator privileges.
Sudden performance drops can indicate hijacked server resources being used for cryptocurrency mining, spam email sending, or malicious file hosting. If your site speed tanked without explanation, malware could be the culprit consuming your server’s CPU and memory in the background.
Why WordPress Sites Get Hacked
 2")
Understanding how the breach happened helps you prevent it from recurring. WordPress core itself is actually quite secure when kept updated, but the problem almost always lies elsewhere. In 2024, researchers documented 7,966 new WordPress vulnerabilities, a 34% increase over 2023, and 2025 is on track to surpass that number with 4,462 vulnerabilities reported in just the first six months. The vast majority continue to target plugins and themes rather than core WordPress files, with 96% found in plugins and only 7 core vulnerabilities discovered in all of 2024.
Outdated plugins and themes cause roughly 90% of WordPress security breaches, a staggering number that underscores how critical updates are. When developers discover vulnerabilities they release patches, but skipping those updates leaves known vulnerabilities as open doors for attackers who scan the web specifically looking for sites running outdated software. The window between a vulnerability being discovered and being actively exploited in the wild is shrinking every single year.
Weak passwords remain embarrassingly common, and brute force attacks have increased 45% in 2025. AI-enhanced botnets now test thousands of password combinations per minute, so if your admin password is “password123” or your company name followed by a year, you’re practically rolling out the red carpet. If your username is “admin”, that’s the first one attackers try.
Nulled or pirated plugins and themes often contain hidden malware from day one. That “free” premium plugin from a shady website probably included a backdoor, because attackers distribute modified versions of popular premium software specifically to gain access to sites that install them. The money you saved ends up costing you everything.
Insecure hosting environments can compromise your site regardless of your own security practices. Shared hosting means your site lives alongside hundreds of others on the same server, and if one gets infected and the server isn’t properly configured with account isolation, the infection spreads. Budget hosting cuts corners, and security isolation is often the first corner cut.
Abandoned plugins are increasingly problematic because no updates in two years means known vulnerabilities that will never be patched. The developer moved on, but the security holes remain, so you need to find alternatives and delete abandoned plugins immediately.
Step-by-Step WordPress Hacked Recovery Guide
 3")
Now for the actual recovery work, and you need to follow these steps in order. Exactly this order. Skipping ahead or rushing through can leave backdoors in place that reinfect your site within hours. The goal isn’t just removing visible malware but eliminating every single trace of the intrusion so it can’t come back.
Step 1: Stay Calm and Document Everything
This advice sounds counterintuitive when your site is under attack, but panicked decisions lead to mistakes. Before touching anything, take screenshots and document what you’re seeing. Note the exact symptoms, when you first noticed them, and any recent changes you made, because this documentation helps identify the attack vector later and proves invaluable if you end up needing professional help.
Step 2: Put Your Site in Maintenance Mode
Protect your visitors because they shouldn’t see the compromised site or risk having their data stolen or devices infected. If you can access your WordPress admin, activate a maintenance mode plugin immediately. If you’re locked out, contact your hosting provider to temporarily disable the site. Some CDN providers like Cloudflare also let you enable a maintenance screen at the DNS level, which works even when your server is compromised.
Step 3: Contact Your Hosting Provider
Open a high-priority support ticket right now. Your hosting company can be an invaluable ally during recovery because they have server-level logs showing suspicious activity, might have clean backups from before the infection occurred, and can tell you if other sites on the same server were also compromised. If they were, that points to a server-level breach rather than something specific to your WordPress installation. Some managed WordPress hosts will actually remove the hack for you as part of their service.
Step 4: Change All Passwords Immediately
Change everything. WordPress admin passwords for all users, hosting control panel, FTP and SFTP credentials, database password, SSH access, and email accounts associated with the site. Assume every single password has been compromised, because it probably has. Use a password manager like 1Password or Bitwarden to generate random passwords of at least 16 characters, and never reuse passwords across services.
Step 5: Create a Backup of the Hacked Site
This sounds backwards, but it’s essential. Create a full backup right now, files and database both, and label it clearly as something like HACKED_SITE_BACKUP_DATE so you never accidentally restore it thinking it’s clean. This serves two critical purposes. First, it’s your crime scene evidence if you need to analyze how the attack happened. Second, if you make a mistake during cleanup, you can restore to this version and start over instead of losing everything permanently.
Step 6: Restore From a Clean Backup (If Available)
If you have a recent backup from before the infection, restoring it is the fastest recovery path, but you need to be extremely careful with this approach. You need absolute certainty the backup predates the compromise because some infections sit dormant for weeks before activating visibly. If your last clean backup is three months old, you might lose significant content, so weigh that trade-off. If no clean backups are available or you can’t determine when the infection started, proceed to manual cleanup.
Step 7: Scan for Malware
Use multiple scanning tools because no single scanner catches everything. Start with Sucuri’s free SiteCheck scanner at sitecheck.sucuri.net, which scans remotely for known malware, blacklist status, and security issues. Then install Wordfence directly on your site and run its malware scanner, which checks file integrity against WordPress repository versions and identifies suspicious code patterns that remote scanners miss.
Document every infected file, including locations and malware types detected, because this information guides your cleanup process and reveals the attack’s full scope.
Step 8: Reinstall WordPress Core Files
If you still have dashboard access, go to Dashboard, then Updates, and click Re-install Now. Fresh core files replace potentially infected ones. If you’re locked out, download WordPress from wordpress.org, extract it, and upload the wp-admin and wp-includes folders via FTP, overwriting the existing ones completely. Don’t touch wp-content though, because that’s where your themes, plugins, and uploads live.
Step 9: Remove Infected Plugins and Themes
Delete all plugins from wp-content/plugins. All of them, every single one. Then reinstall fresh copies from the WordPress repository or directly from the developer to ensure you’re not preserving backdoors injected into plugin files. The same applies to themes. Delete everything from wp-content/themes and reinstall clean copies. Consider this an opportunity to switch to a lightweight, security-focused theme like DigiFlash, which uses modern Full Site Editing architecture and minimal code that significantly reduces your attack surface. (What a perfect way to do self-promotion 🙄)
Step 10: Clean the Uploads Folder
This is tricky territory because the wp-content/uploads folder contains your actual media files like images, PDFs, and documents, and you don’t want to lose those. But hackers love hiding backdoors in uploads with innocent-sounding names or disguised as image files, so look for any PHP files. They shouldn’t exist in uploads because legitimate uploads are images and documents, not executable scripts. Remove any .php, .js, or other executable files you find lurking in there.
Step 11: Remove Suspicious Users
Navigate to Users in your WordPress admin and review every account. Delete any user you don’t recognize, especially those with administrator privileges, because hackers create backdoor accounts specifically to regain access after you change passwords. Also verify that legitimate users haven’t had their roles elevated, because a subscriber with sudden admin access is a major red flag.
Step 12: Clean the Database
Malware often hides in the database, with the wp_options and wp_posts tables being favorite targets. Access phpMyAdmin through your hosting control panel and search for suspicious entries. In wp_options, look for unfamiliar option names containing encoded malicious code, and in wp_posts, check for spam content or scripts injected into legitimate posts. Examine wp_users at the database level too, because hidden admin accounts sometimes don’t appear in the WordPress dashboard but exist in the underlying database.
Step 13: Update WordPress Security Keys
Security keys, also called salts, encrypt cookie information. If hackers obtained your old keys, they could bypass authentication entirely. Generate new keys at api.wordpress.org/secret-key/1.1/salt/ and replace existing values in wp-config.php. This invalidates all logged-in sessions everywhere, forcing everyone including any remaining attacker sessions to log in again with new credentials.
Step 14: Request Blocklist Removal
If Google flagged your site, request a review through Google Search Console. Navigate to Security Issues and submit a review request after cleanup, because Google typically responds within a few days. If your hosting provider suspended your account, contact them with detailed information about the cleanup steps you took, and they’ll review and lift the suspension once satisfied the infection is truly resolved.
Essential Tools for WordPress Malware Removal
 4")
The right tools make WordPress hacked recovery dramatically easier. You could theoretically clean a site manually by inspecting every single file, but scanners catch things human eyes miss and speed up the process by orders of magnitude. Here’s what actually works in 2026.
Sucuri SiteCheck is completely free, scans remotely, and works even when you’re locked out of WordPress admin. It checks for known malware signatures, blacklist status across multiple security vendors, and obvious security misconfigurations, making it ideal as your first diagnostic tool. The paid Sucuri service adds a cloud-based firewall and malware cleanup guarantee that might be worth it for business-critical sites.
Wordfence dominates the WordPress security plugin space for good reason, with over 4 million active installations and billions of attacks blocked since launch. Its malware scanner compares your files against official WordPress repository versions and identifies modifications. The free version provides excellent protection, while Premium adds real-time firewall rules and priority malware signatures for sites needing maximum protection.
MalCare offers one-click malware removal, which is incredibly valuable when you’re panicking and just want the problem gone. Its scanner runs on MalCare’s servers rather than yours, so scanning doesn’t slow your site down, and automatic cleanup removes malware without requiring technical expertise. Recent independent testing showed it detected all 10 test vulnerabilities with zero false negatives.
Jetpack Scan comes from Automattic, the company behind WordPress.com itself, and provides automated malware detection, one-click fixes for common issues, and daily scans that alert you to problems before they escalate. If you’re already using Jetpack for other features, adding security makes sense.
WPScan focuses exclusively on WordPress vulnerabilities, and its database tracks known security issues in core, plugins, and themes. The free tier allows 25 API requests daily, which is enough for most personal sites. Agencies managing multiple sites need premium plans for unlimited scanning, but the investment pays for itself in prevented breaches.
Preventing Future Hacks: Security Hardening That Works
 5")
Recovering from a hack hurts enough that you’ll want to ensure it never happens again. Security isn’t a checkbox you tick once. It’s ongoing practice that you need to implement and maintain consistently. For a comprehensive overview, check out our guide to securing your WordPress site with 20 best practices.
Keep everything updated including WordPress core, all plugins, all themes, and even your PHP version. Enable automatic updates for minor WordPress releases and check for updates weekly rather than monthly, because the window between vulnerability discovery and active exploitation keeps shrinking. What used to be weeks is now often days, and sometimes just hours.
Implement two-factor authentication for all administrator and editor accounts, because this single measure blocks the vast majority of brute force attacks. Even if someone guesses or steals your password, they can’t log in without the second factor. Plugins like WP 2FA or Google Authenticator make setup straightforward, and for maximum security, consider passkeys, which WordPress plugins now support and which eliminate passwords entirely.
Install a Web Application Firewall, with cloud-based options like Cloudflare or Sucuri blocking attacks at the DNS level before threats ever touch your server. Plugin-level firewalls like Wordfence work well but run after traffic reaches your server, so high-traffic sites should consider using both layers for defense in depth.
Maintain proper backup practices following the 3-2-1 rule: three copies of your data, on two different storage types, with one stored offsite. Daily automated backups are the minimum. E-commerce or high-content sites need more frequent backups. Store backups somewhere separate from your web server because server-wide disasters can destroy both your live site and local backups simultaneously. Cloud storage like Google Drive or Dropbox works well for offsite copies, and test your restore process periodically so you know it actually works when disaster strikes.
Set correct file permissions with directories at 755, files at 644, and your wp-config.php at 600 or 640 since it contains database credentials. Never use 777 on anything, because that grants full access to everyone including attackers.
Remove unused plugins and themes immediately because deactivating isn’t enough. The vulnerable code still exists on your server waiting to be exploited. Delete anything you’re not actively using, audit quarterly, and ask whether each plugin is truly necessary. Every plugin is potential attack surface.
Choose quality hosting that prioritizes security, because managed WordPress hosts typically include automatic updates, malware scanning, and server-level firewalls with proper account isolation. The extra cost compared to budget hosting pays for itself the first time you avoid a hack. If you’re currently on shared hosting with frequent issues, consider migrating to something more secure, and our WordPress migration guide walks through the process.
Use reputable sources only for themes and plugins. Stick to the official WordPress repository, well-known developers, and established marketplaces. Never install nulled or pirated premium plugins. If you’re rebuilding after a hack, consider DigiBlocks for content blocks since it loads CSS and JS only when blocks are actually used, minimizing code execution and potential vulnerabilities.
Limit login attempts to three to five failed tries before lockout, which most security plugins include as a feature. Also consider changing your login URL from /wp-admin/ to something unique, hiding the target from automated attack scripts that hammer the default location.
Disable XML-RPC unless you specifically need it for remote publishing, which most modern workflows don’t require. It’s commonly exploited for brute force amplification attacks, so disable it through a security plugin or by adding a rule to your .htaccess file.
Your Path Forward After a WordPress Breach
WordPress hacked recovery demands patience and systematic execution, and it can feel overwhelming when your livelihood depends on that website. But thousands of site owners have walked this path before you, and they emerged with stronger, more secure sites than they had before the attack. You will too.
Isolate the infection, change all credentials, and clean every component methodically. Don’t skip steps hoping to save time, because backdoors left behind will reinfect your site within days. Once clean, implement proper security measures: two-factor authentication, a web application firewall, automated backups, and a commitment to regular updates.
Have you recovered from a WordPress hack recently? What proved most challenging for you?


0 Comments on "WordPress Hacked? Complete 2026 Recovery Guide (Step-by-Step Cleanup)"