

WordPress custom fields are extra pieces of information you attach to a post or page, saved as a simple name and value. You reach for them when the data you want to store doesn’t fit the normal title and body, like a book’s rating, a product’s release date, or a subtitle that sits under the headline. You can add a custom field straight from the block editor, and then show its value on your site with a little theme code or, since WordPress 6.5, by connecting a block directly to the field with no code at all.
Most people meet custom fields without realizing it. Every WordPress plugin that stores a featured flag, an event date, or a price is writing to a custom field behind the scenes. The feature has been part of WordPress for years, yet the way you display those values on the front end changed a lot with the block editor, and most tutorials still stop at the old theme-code method.
This guide walks through the whole picture for WordPress 7.0, the current version. You’ll see how to switch on the built-in Custom Fields panel, how to add and reuse a field, and then how to put its value on your pages. There are three display methods worth knowing. The classic one uses a little theme code, the newer Block Bindings API needs no code at all, and plugins like Advanced Custom Fields handle anything more involved.
By the end you’ll know which method fits your site, whether you run a simple blog or a busy store built on block themes. We’ll also flag the security step that a lot of older guides skip, so the extra data you print never opens a hole in your site.
What are WordPress custom fields, and what can you store in them?

A custom field is a piece of metadata saved as a key and a value, tied to one specific post or page. The key is the label, like rating or release_date, and the value is the actual content you put in, like 4.5 or March 2026. WordPress stores every pair in its database right next to the post, ready for you to pull back out whenever you want it.
You can store almost anything a short piece of text can hold. Common examples are a star rating for a review, the running time of a video, an author’s job title, the price of a downloadable file, or an expiry date after which a post should hide a banner. None of these belong in the main content area, and that gap is exactly what custom fields fill for you.
One handy detail is that a key can be reused across many posts. Once you’ve created a subtitle field on one article, it shows up in a dropdown on every other post, so you stay consistent instead of retyping the name each time. A single post can also hold the same key more than once, which is useful when you’re reading two books at a time and want both titles under one currently_reading label.
A quick example makes this concrete. Say you run a book blog and want a rating out of five on every review. You create a key called rating, type a number like 4.5 into the value box, and save the post. That number now lives with the post as data, kept apart from your writing, so your theme can show it as stars, sort your reviews by score, or hand it to Google without you touching the article text again.
It helps to picture custom fields as a small spreadsheet clipped to each post. The post itself holds the title and the body, and the custom fields hold the loose facts around it. That structure is what lets themes, plugins, and even structured data for rich snippets read those values and do something useful with them, like showing a rating star under your page in Google results. Once you see fields this way, a lot of WordPress features that once felt like magic start to make plain sense.
How do you add a custom field without a plugin?

You add a custom field from the block editor’s Custom Fields panel, which WordPress keeps hidden until you switch it on. The panel has been part of core WordPress for a long time, so you don’t need to install anything to try it out. Turning it on takes about ten seconds, and you only have to do it once for the whole site.
Open any post in the editor, click the Options button (the three dots in the top right corner), and choose Preferences. In the General tab, find the Advanced section and turn on the Custom fields toggle, then let the page reload. When it comes back, you’ll see a new Custom Fields box below the content area, ready for your first key and value.
To add one, type a name in the Name box, such as subtitle, and the text you want in the Value box. Click the Add Custom Field button and WordPress saves the pair against that post. On your next post, the name you created appears in a dropdown, so you pick it from the list and only fill in a fresh value. That reuse keeps your keys tidy across the whole site and saves you from spelling mistakes.
The built-in panel is honest but basic, and you should know its limits before you lean on it. Every value is plain text, so you get no date picker and no dropdown of preset options, just a box where you type. Nothing stops you or a client from mistyping a key and quietly breaking the display somewhere on the front end. For a personal blog with one or two simple values, that trade is completely fine. For a site a team edits every week, the rough edges start to hurt, and that pain is where the other methods earn their place.
How do you display a custom field on your website?

To show a field’s value on the front end, the classic method reads it with the get_post_meta() function and prints it inside your theme template. Adding a value in the editor only saves it to the database. Nothing appears on the page until your theme or a plugin asks for that value and outputs it somewhere visible.
The core call looks like get_post_meta( get_the_ID(), 'subtitle', true ), where the last true tells WordPress you want a single value rather than an array of them. You drop that inside a template file such as single.php in a classic theme, usually right after the title, wrapped in whatever markup you like. There’s also an older helper called the_meta() that lists every field on a post at once, though most people prefer the control of pulling fields one by one.
If you’d rather not edit template files at all, you can wrap that same call in a small shortcode and register it in your child theme’s functions file. Then you drop the shortcode into any post or a Shortcode block, and the field’s value prints wherever you place it on the page. It’s a common middle ground for site owners who want a dynamic value without opening up a full template.
A lot of older tutorials skip one step here, and it really matters. You should always escape a custom field before you print it, because the value is data a person typed, not code you can trust blindly. Wrap plain text in esc_html() and any link in esc_url(), so a stray script or a broken tag can never run on your page. This single habit keeps a simple content field from turning into a genuine security problem down the line.
There’s a naming trick to know about here too. If you start a key with an underscore, like _internal_note, WordPress treats it as protected and hides it from the Custom Fields panel entirely. Plugins use this to store data they don’t want you editing by hand. It comes in handy when you’re writing your own code and want a field that stays out of the editor, though as you’ll see next, that underscore also changes how a field behaves with blocks.
How do you show custom fields in blocks with the Block Bindings API?
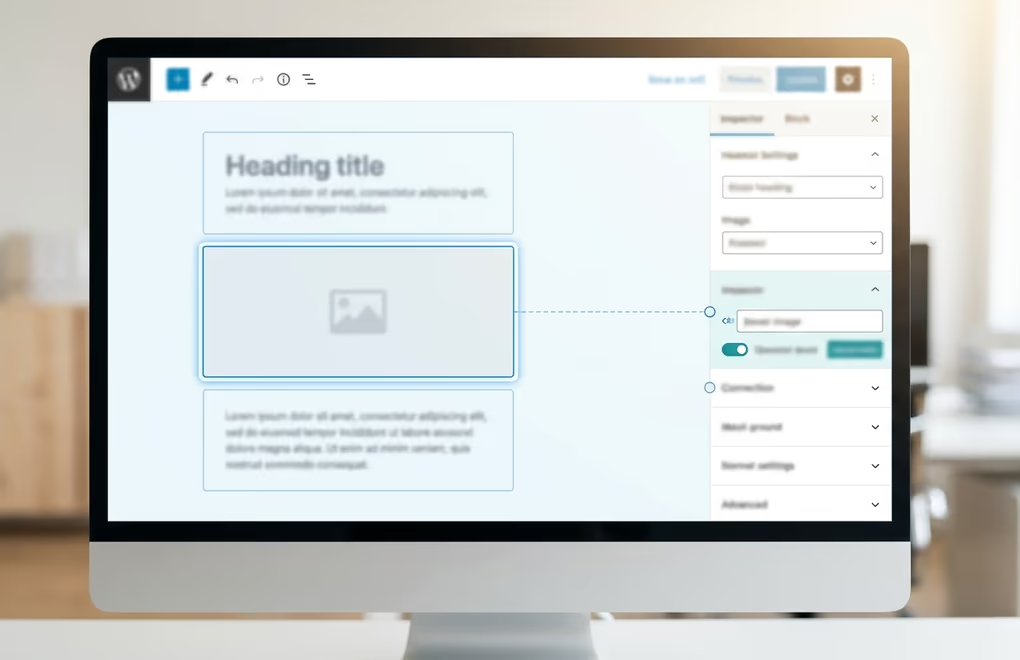
Since WordPress 6.5, the Block Bindings API lets you connect a block’s text or image straight to a custom field, so the value appears with no theme code at all. This is the current answer to displaying fields, and it fits how most sites are built now, on block themes where there’s no single.php to edit. Instead of writing PHP, you bind a block to a field and WordPress fills in the value for you.
Two things have to be true before a field will work with bindings. First, you register the field with register_meta() and set show_in_rest to true, which makes the value available to the editor and the WordPress REST API. Second, the key can’t start with an underscore, since protected fields stay off limits to bindings. Once a field meets both of those rules, it’s ready to feed a block.
The binding itself points a block attribute at the core/post-meta source and names the meta key you want. A Paragraph or Heading block can pull its text from a field, an Image block can take its URL or its alt text from one, and a Button can read its link and label the same way. The official Block Bindings documentation lists every block and attribute that’s supported today. WordPress 6.7 went one step further and let you edit a bound value right in the editor, so a client can update the field from the block instead of hunting for a separate panel.
Here’s how that plays out on a real page. Imagine a product layout where each item carries a release_date field. You add a Heading block, connect it to that field through the binding controls, and every product then shows its own date inside the same styled heading. Change the value on one product and only that page updates, while your design stays identical across the whole catalogue. That’s the payoff of binding blocks to data instead of typing the same detail into every page by hand.
This approach pairs well with a blocks plugin like DigiBlocks, which gives you more block types to bind your fields to across block themes and full site editing. For a product page, a staff directory, or any layout where the same field repeats, bindings keep your design in the editor and your data in custom fields, with nothing hard-coded in a template. It’s more setup than the native panel asks for, but it’s far less fragile than scattering PHP snippets through your theme files.
Native fields, a plugin, or custom code: which should you use?

Pick the native panel for a quick one-off value, the Block Bindings API for a block theme, a plugin like Advanced Custom Fields for anything structured, and custom code only when you truly need full control. Each method solves the same core job, so the right choice comes down to how often the field changes, who edits it, and how much structure the data really needs.
The native Custom Fields panel is the fastest way in, with nothing to install and no setup at all. It suits a solo blogger adding the odd value here and there, as long as everyone editing remembers the exact key names. The weakness is that plain-text input and the total lack of guardrails, which gets risky the moment a non-technical client starts touching posts.
Advanced Custom Fields and similar plugins such as Meta Box and Pods sit at the other end of the range. They give you real field types, so a date becomes a proper date picker and an image becomes a media chooser, plus repeaters for fields that appear many times over. The trade-off is another plugin to keep updated and, for the heavier feature sets, a paid tier. For agencies building client sites, that structure usually pays for itself in far fewer support tickets.
Here’s a quick way to decide which one actually fits.
- One or two text values on a personal site, use the native panel.
- A block theme where editors update values often, use the Block Bindings API.
- Structured data with dates, images, or repeating rows, use Advanced Custom Fields or a similar plugin.
- A one-of-a-kind need that no plugin covers, write your own code with
register_meta()andget_post_meta().
Most real sites end up mixing these together over time. You might register a couple of fields in code, expose them to bindings, and then reach for a plugin only when one section genuinely needs repeaters or a complex layout. The goal is the least machinery that gets the job done, so your site stays easy to run a year from now instead of becoming a puzzle.
Where custom fields fit in a modern WordPress site
Custom fields turn WordPress from a blogging tool into a real content system, and you don’t need to be a developer to use them well. Start with the built-in panel to get a feel for keys and values, then move to the Block Bindings API once you’re on a block theme and want your data on the page without touching code. Reach for a plugin like Advanced Custom Fields when the structure grows, and drop into custom code only for the rare job that nothing else can cover.
Whichever route you take, keep hold of the one rule that protects your site. Always escape a field’s value on output, so the extra data you worked to store never becomes a way in for bad input. Get that habit right and custom fields become one of the most useful, and safest, tools in your whole WordPress kit.




0 Comments on "WordPress Custom Fields: How to Add and Display Them"