
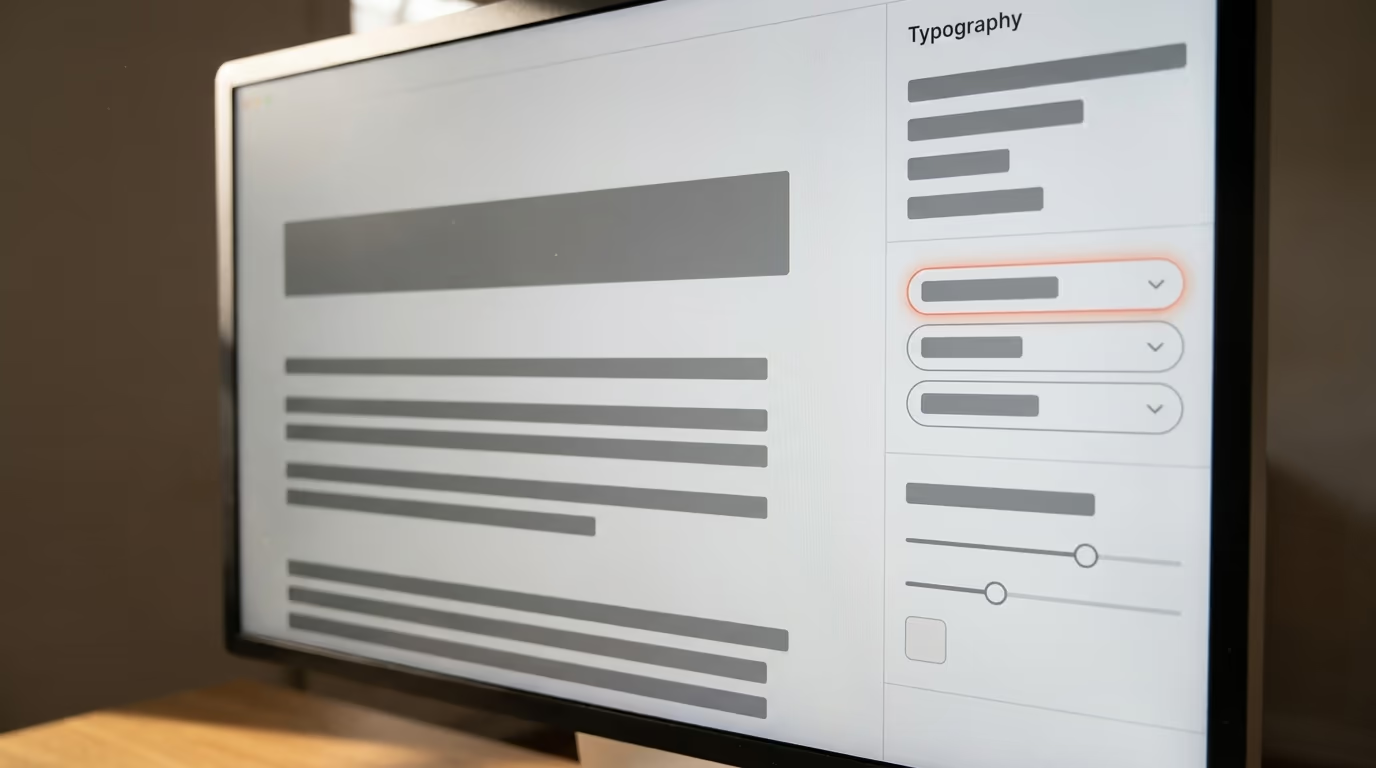
You change fonts in WordPress from the Site Editor if you run a block theme, or from the Customizer if you run an older classic theme. Open Appearance, then Editor, then Styles, and pick a new typeface for your headings and body text. WordPress 7.0.3, released in August 2026, also ships a built in Font Library that installs Google Fonts or your own font files without any plugin, and it now works on both block themes and classic themes.
That one paragraph covers most sites, but the right method really depends on your theme and on how much control you want. A block theme gives you visual font controls in the Site Editor. A classic theme leans on the Customizer, a theme options panel, or a small piece of CSS. And if you only want to restyle a single heading or button, you can change the font on that one block and leave the rest of the page alone.
This guide walks through every route in plain steps, from the fastest visual method to self hosting a custom font for speed and privacy. Most tutorials leave out the privacy angle. Loading Google Fonts straight from Google’s servers can create a real GDPR problem in Europe, and the fix turns out to be simple once you know it.
By the end you’ll know which method fits your theme, and how to add custom fonts that load fast and stay private.
The best way to change fonts in WordPress depends on one thing, whether your active theme is a block theme or a classic theme. Block themes, like the default Twenty Twenty Five or DigiFlash, put typography controls right inside the Site Editor, so you change fonts visually with no code. Classic themes, the older style built around the Customizer, usually expose fonts through a theme options panel or need a small snippet of CSS.
To find out which type you have, open your dashboard and look at the Appearance menu. If you see an Editor link there, you’re on a block theme and the Site Editor is your main tool. If you see Customize instead, you’re on a classic theme. This single check decides almost every step that follows, so it’s worth doing before you touch any font setting.
There’s also a third situation that has nothing to do with your theme. Sometimes you don’t want to restyle the whole site, you just want one headline, one quote, or one button in a different typeface. WordPress handles that at the block level, and you can set a font on a single block without changing your global styles at all.
- A block theme site changes fonts in the Site Editor under Appearance, then Editor, then Styles.
- A classic theme site changes fonts in Appearance, then Customize, or in a theme options panel.
- A single block changes its font from the typography settings in the block sidebar.
Pick the row that matches your case and jump to that part below. The rest of this guide follows the same order, starting with the block theme method that most modern WordPress sites now use.
How do you change fonts in a block theme with the Site Editor?

To change fonts in a block theme, open Appearance, then Editor, then click Styles and choose Typography. The Styles panel lets you set a default font for your whole site, and separate fonts for elements like headings, links, buttons, and captions. Every change previews live in the editor canvas, so you see the result before you save anything.
Start with the site wide font. Inside Styles you open Typography, then click Text to set the body font and Headings to set the font used across your titles. Each one gives you a font family dropdown plus controls for size, line height, letter spacing, and weight. When you pick a family the preview updates instantly, and nothing goes live until you press Save in the top corner.
If you want different fonts for different heading levels, open Headings and then choose an individual level such as H1 or H2. This is how you give a large display font to your main title while keeping something calmer for sub headings. The same panel controls appear for other elements too, which helps when you want your buttons or captions to stand apart from body copy. You can also select any block on a page and override its font right there, which is the quickest way to try a typeface on real content before committing to it across the whole site.
Block themes read these settings from a file called theme.json, so your choices apply consistently everywhere instead of being scattered across pages. That structure is one of the big wins of full site editing, and it’s why a theme like DigiFlash or another modern block theme keeps typography tidy. If a font you want isn’t in the dropdown yet, that’s the job of the Font Library, which is the next step.
How do you add Google Fonts or upload custom fonts without a plugin?
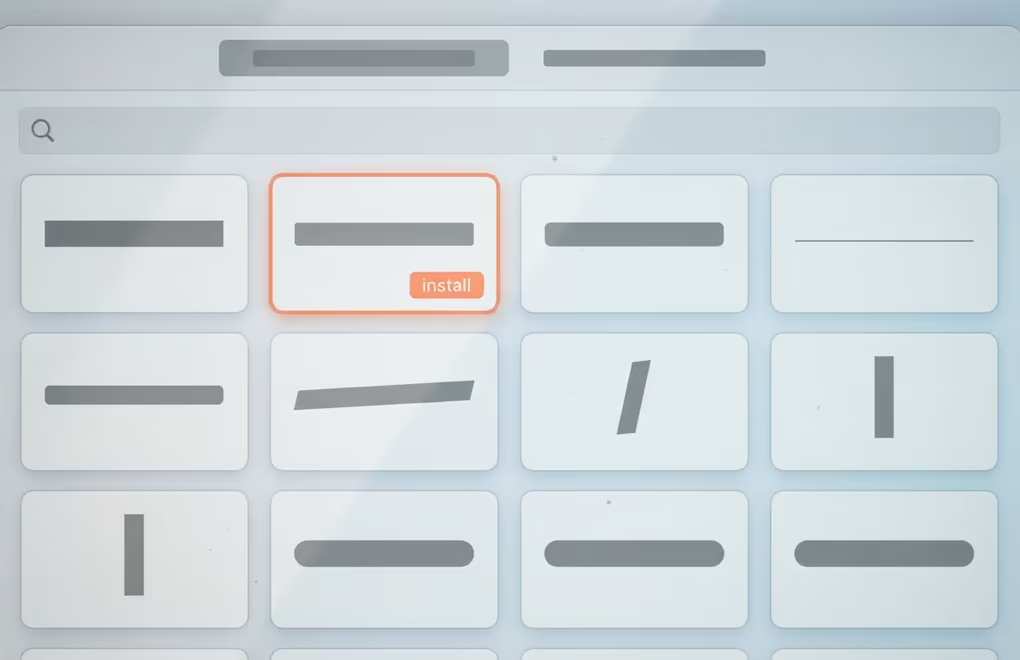
You add Google Fonts or your own font files through the Font Library, a feature built into WordPress since version 6.5 that needs no plugin. Open Appearance, then Editor, then Styles, choose Typography, and click the Manage fonts icon. From there the Install Fonts tab browses Google’s full catalog, and the Upload tab takes font files straight from your computer.
The important detail is what happens when you install a Google Font this way. WordPress downloads the actual font files and hosts them on your own server, rather than pulling them live from Google every time someone visits. You get the exact same typeface, and your pages stop depending on a third party request to render text. Supported upload formats include .ttf, .otf, .woff, and the lightweight .woff2, which is the one you’ll usually want.
To add a Google Font, open the Install Fonts tab, tick the font and the specific weights you need, then click to install. To add a font you bought or downloaded, switch to the Upload tab and drag the file in. Either way the new font appears in your normal Typography dropdowns right after, ready to assign to your body text, your headings, or a single block. The same Manage fonts screen also lists everything you’ve installed, so you can remove a typeface you no longer use and keep the library lean.
One recent change is worth knowing. In WordPress 6.5 the Font Library only worked with block themes, but WordPress 7.0 opened it up to classic themes as well. So even on an older theme you now have a native place to manage fonts without reaching for an extra plugin. That matters for both speed and privacy, which the GDPR section below gets into.
How do you change fonts in a classic WordPress theme?
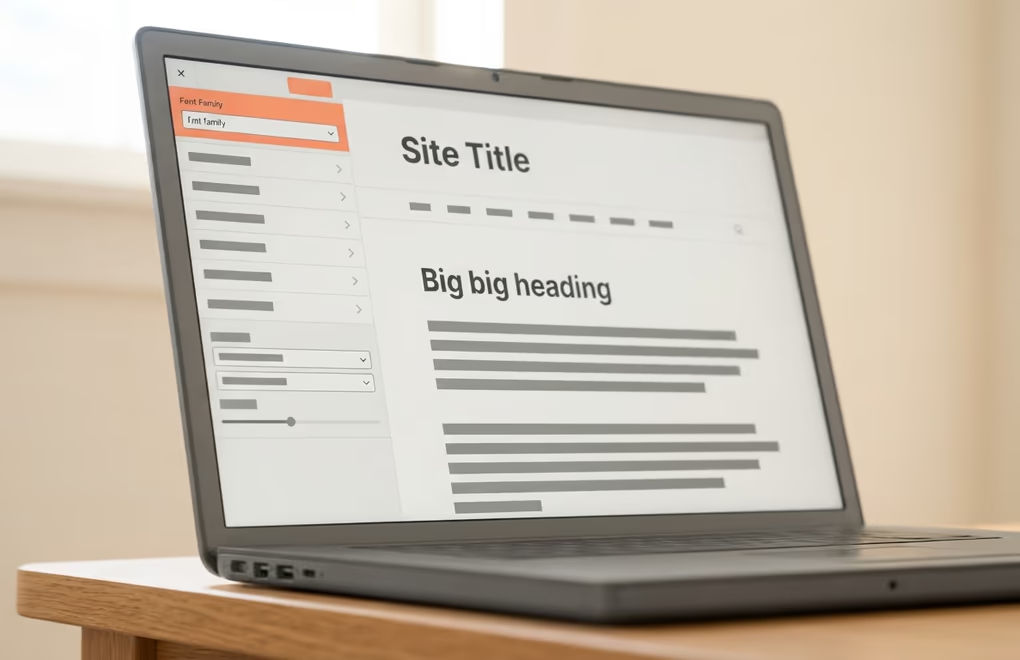
On a classic theme you change fonts from the Customizer, from the theme’s own options panel, or with a short CSS rule. Open Appearance, then Customize, and look for a Fonts or Typography section. Many popular classic themes add their own font pickers here, and the live preview on the right shows each change before you publish it.
If your theme has a typography panel, this is the easiest path. You pick a body font and a heading font from a dropdown, adjust the sizes, and hit Publish. Themes vary in how many options they expose, so a lightweight theme like DigiFusion may keep it simple while a feature heavy theme offers detailed control over almost every element.
When the theme doesn’t give you the font you want, CSS is the reliable fallback. A rule that sets the body font family changes the base font, and targeting a selector like h1 or h2 restyles your headings. You add these rules under Appearance, then Customize, then Additional CSS, and our walkthrough on how to add custom CSS in WordPress shows exactly where they go and how to keep them update safe.
Remember that WordPress 7.0 now brings the Font Library to classic themes too, so you can install a Google Font natively and then point your CSS or theme options at it. That combination, the Font Library for installing and the Customizer or CSS for applying, covers almost any classic theme without a dedicated font plugin.
Are Google Fonts a GDPR risk on WordPress?

Loading Google Fonts directly from Google’s servers can be a GDPR risk, because that request sends your visitor’s IP address to Google without their consent. In January 2022 a court in Munich ruled against a website owner for exactly this and awarded the visitor 100 euros in damages. The ruling triggered a wave of warning letters to European site owners, so it’s a practical concern and not just theory.
The reason comes down to how the browser loads the font. When a page pulls a font live from Google’s font network, the visitor’s browser has to contact Google to fetch it, and that connection hands over the IP address, which counts as personal data in the EU. If you never asked the visitor for permission first, that transfer sits on shaky legal ground under European privacy law, and that gap is what the Munich case turned on.
The fix is to self host the fonts, which means serving them from your own domain instead of Google’s. This is exactly what the native Font Library does when you install a Google Font, since it downloads the files to your server. Your visitors get the same typeface, no request ever goes to Google, and the IP leak disappears. If you added fonts with an older method or a page builder, check whether they still call Google directly.
Fonts are only one piece of staying compliant, and cookies, analytics, and embeds raise similar questions. Our guide to WordPress GDPR compliance covers the wider picture, and a consent tool such as DigiConsent helps you handle the parts that genuinely need visitor permission. For fonts specifically though, self hosting removes the problem at the source.
How do you keep WordPress fonts fast and easy to read?
You keep fonts fast by self hosting them, using the .woff2 format, and loading only the weights you actually use. Every custom font is an extra file the browser downloads, so trimming that list is the single biggest speed win. Two well chosen fonts almost always beat five, both for load time and for a cleaner look.
A few habits keep things quick. Self host through the Font Library so requests stay on your domain, prefer .woff2 because it’s the most compressed web font format, and drop any weight or style you don’t use, since each one is a separate download. If a font flashes or shifts as the page loads, adding a swap behavior in your font settings tells the browser to show a fallback first and then swap in your font once it arrives.
Readability matters just as much as speed. Body text around 16 to 18 pixels with a line height near 1.5 stays comfortable on phones and laptops alike, and pairing a distinct heading font with a plain, highly legible body font gives contrast without clutter. A safe pairing is a characterful serif for headings with a clean sans serif for body text, or the reverse when your brand feels more modern. Stick to one or two families across the whole site, because too many typefaces make a page feel busy and slow at the same time.
For finer control on individual sections, block based typography helps a lot. Blocks from DigiBlocks let you set the font, size, and spacing on a single heading or text block, so you can adjust one call to action without overriding your global styles. That mix of sensible global defaults plus targeted per block tweaks keeps a site both consistent and flexible.
Getting your WordPress typography right
Getting fonts right in WordPress comes down to matching the method to your theme and then keeping the result fast and readable. On a block theme, the Site Editor and Styles panel handle almost everything visually, and the Font Library adds any Google or custom font without a plugin. On a classic theme, the Customizer, a theme options panel, or a little CSS does the same job, and WordPress 7.0 now gives classic themes the Font Library too.
Whichever route you take, self host your fonts so pages load quickly and your site stays clear of the Google Fonts privacy trap. Keep the typeface count low, set a comfortable body size, and preview on a phone before you publish. Do that once and your typography will hold up across every page and every device, including the posts you add later. If you’re rebuilding your design from scratch, choosing the fonts early makes every other layout decision easier.



0 Comments on "How to Change Fonts in WordPress"