

Every WordPress site needs an SSL certificate, and in 2026, running without one is practically impossible. Chrome 154, scheduled for October 2026, will make “Always Use Secure Connections” the default for all users, which means visitors to any HTTP-only WordPress site will see a full-page warning before they can proceed. Google has treated HTTPS as a ranking signal since 2014, browsers already flag HTTP pages as “Not Secure”, and payment processors won’t touch a site that lacks encryption.
The good news is that SSL certificates are free from Let’s Encrypt, and most hosting companies now install one automatically when you set up a new WordPress site. But automatic doesn’t always mean complete. Plenty of WordPress installations still trigger mixed content warnings, redirect loops, or that stubborn “Not Secure” label because the certificate was provisioned but WordPress itself was never told to use it properly.
This article walks through every step: what an SSL certificate actually does, how to check whether yours is working, how to install one if it isn’t, and how to fix the WordPress-specific problems that trip people up after the certificate is in place.
What does an SSL certificate do for a WordPress site?

An SSL certificate encrypts the data that travels between your visitor’s browser and your server. When someone fills out a contact form, logs into your WordPress admin, or enters a credit card number, that information gets scrambled so anyone intercepting the connection sees random characters instead of real data. The certificate also proves that your server is actually who it claims to be, which prevents man-in-the-middle attacks where someone impersonates your site.
The practical difference for a WordPress site owner is the padlock icon in the browser address bar and the “https://” prefix on your URL. Without these, Chrome, Firefox, Safari, and Edge all display some version of a “Not Secure” warning, which is enough to scare most visitors away before they read a single word of your content. Google’s own data shows that users click away from HTTP pages at significantly higher rates than they do from HTTPS pages.
For SEO, HTTPS is a confirmed ranking factor. Google announced this in 2014 and has been gradually increasing the weight of this signal. While SSL alone won’t push a thin article to the top of page one, two otherwise equal pages will see the HTTPS version rank higher. Search engines also display the protocol in results, and a “Not Secure” label next to your URL in the search results page erodes click-through rates before anyone even visits your site.
There are three main types of SSL certificates. Domain Validation (DV) certificates verify that you control the domain and nothing else, which is what Let’s Encrypt provides for free. Organization Validation (OV) certificates also verify that a real organization owns the domain, and they cost between $50 and $200 per year from commercial certificate authorities like DigiCert or Sectigo. Extended Validation (EV) certificates add a thorough legal and physical verification process, typically costing $100 to $500 per year, and were once associated with a green address bar that browsers have since removed. For the vast majority of WordPress sites, a free DV certificate from Let’s Encrypt is the right choice because it provides the same encryption strength as paid alternatives.
WordPress itself doesn’t handle SSL at the application level. The certificate lives on your web server (Apache, Nginx, LiteSpeed, or a reverse proxy like Cloudflare), and WordPress just needs to know that its URLs should start with “https” instead of “http”. This separation is why installing the certificate is only half the job, because the WordPress side still needs configuration.
How can you check if your WordPress site already has SSL?
The fastest way to check is to open your site in Chrome and look at the address bar. If you see a padlock icon (or the “tune” icon that replaced it in recent Chrome versions) and the URL starts with “https://”, your certificate is active and valid. Click the icon, then click “Connection is secure” to see the certificate details: the issuer (usually Let’s Encrypt, Cloudflare, or your hosting provider’s CA), the expiration date, and the domain it covers.
If the address bar shows “Not Secure” or a broken padlock, one of three things is happening. Either there is no certificate installed at all, the certificate has expired, or the certificate is valid but your site is serving mixed content (some resources load over HTTP while the page itself loads over HTTPS). Each of these problems has a different fix, which the sections below cover in detail.
You can also check from the WordPress admin. Go to Settings, then General, and look at the WordPress Address (URL) and Site Address (URL) fields. Both of those fields should start with “https://”, and if they say “http://”, WordPress is configured for the insecure protocol even if a certificate exists on the server. You’ll need to update both fields to “https://” and save, which triggers a redirect to the secure version.
For a more thorough check, use a free online tool like SSL Labs (ssllabs.com/ssltest). Paste your domain, and the tool tests your certificate chain, protocol support, cipher suites, and known vulnerabilities. It returns a letter grade from A+ down to F, and most WordPress hosts with a properly installed Let’s Encrypt certificate score an A or A+. If you score below a B, the report tells you exactly what needs fixing: weak ciphers, an incomplete certificate chain, or an outdated TLS version.
Another useful test is running your site through Chrome DevTools. Open your site, press F12, click the Security tab, and check for any warnings. The Console tab is where you’ll see mixed content errors: lines that say “Mixed Content: The page at ‘https://…’ was loaded over HTTPS, but requested an insecure resource ‘http://…’”. These tell you exactly which URLs are still loading over HTTP, which makes fixing them straightforward.
How do you install an SSL certificate on WordPress hosting?
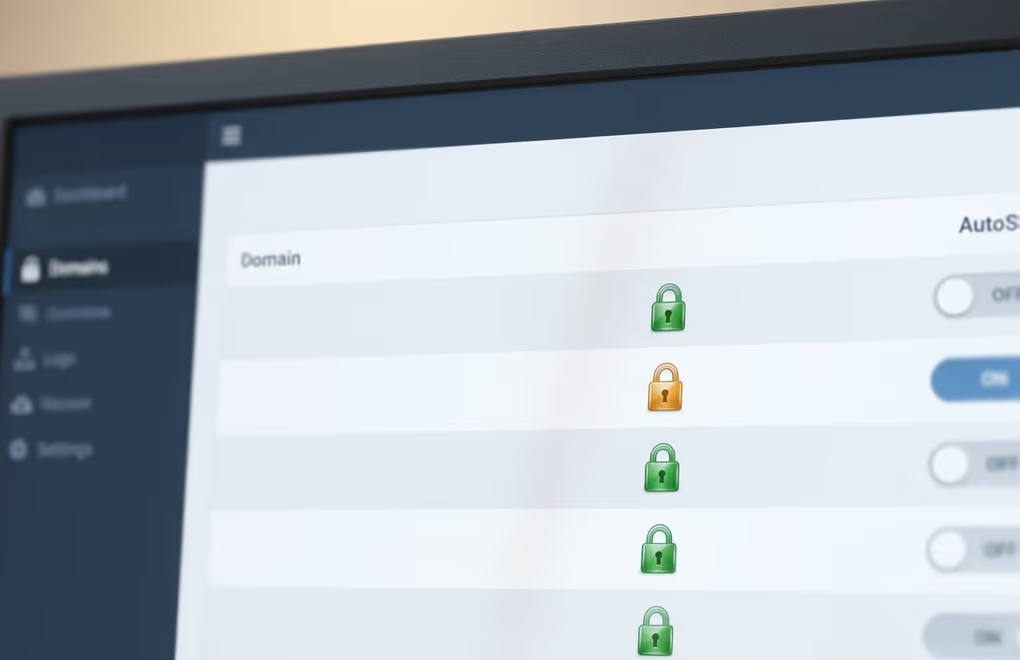
The installation process depends entirely on your hosting provider, because the certificate sits on the server, not inside WordPress. Most modern hosting companies have made this a one-click operation, and many install Let’s Encrypt automatically when you add a new domain. If your host hasn’t done this automatically, here are the paths for the most common setups.
On cPanel-based hosting (used by Hostinger, Bluehost, SiteGround, A2 Hosting, and many others), log into cPanel and look for the “SSL/TLS Status” section. Click it, and you’ll see a list of your domains. If a green lock appears next to your domain, SSL is already active. If not, click “Run AutoSSL” and the server will request and install a Let’s Encrypt or cPanel-issued certificate within a few minutes. Some hosts label this button differently: SiteGround calls it “SSL Manager” in their Site Tools panel, while Hostinger places it under “Security” in hPanel.
On Cloudflare (which many WordPress site owners use as a CDN and firewall), SSL works differently because Cloudflare acts as a reverse proxy. In your Cloudflare dashboard, go to SSL/TLS and choose one of four modes. “Full (Strict)” is the correct choice for WordPress because it encrypts traffic between the visitor and Cloudflare, and also between Cloudflare and your origin server, and it requires a valid certificate on your origin. If you pick “Flexible”, Cloudflare encrypts the visitor’s connection but talks to your server over plain HTTP, which can cause infinite redirect loops in WordPress. Always use “Full (Strict)” and make sure your origin server also has a certificate installed.
If you manage your own server (a VPS on DigitalOcean, Linode, Vultr, or similar), Certbot is the standard tool for installing Let’s Encrypt certificates. It handles requesting the certificate, configuring Apache or Nginx to serve it, and renewing it automatically every 60-90 days. Run sudo certbot –nginx (or –apache) and follow the prompts. Certbot will ask which domains to secure, modify your server config to redirect HTTP to HTTPS, and set up a cron job for auto-renewal.
For managed WordPress hosting (WP Engine, Kinsta, Flywheel), SSL is typically included in the plan and provisioned automatically. If your certificate isn’t active, check the hosting dashboard for a “Force HTTPS” or “Enable SSL” toggle. WP Engine, for instance, provides free Let’s Encrypt certificates under the “SSL” section of each environment’s settings, and you just click “Add Certificate” and wait a few minutes for it to provision.
What WordPress settings need to change after installing SSL?
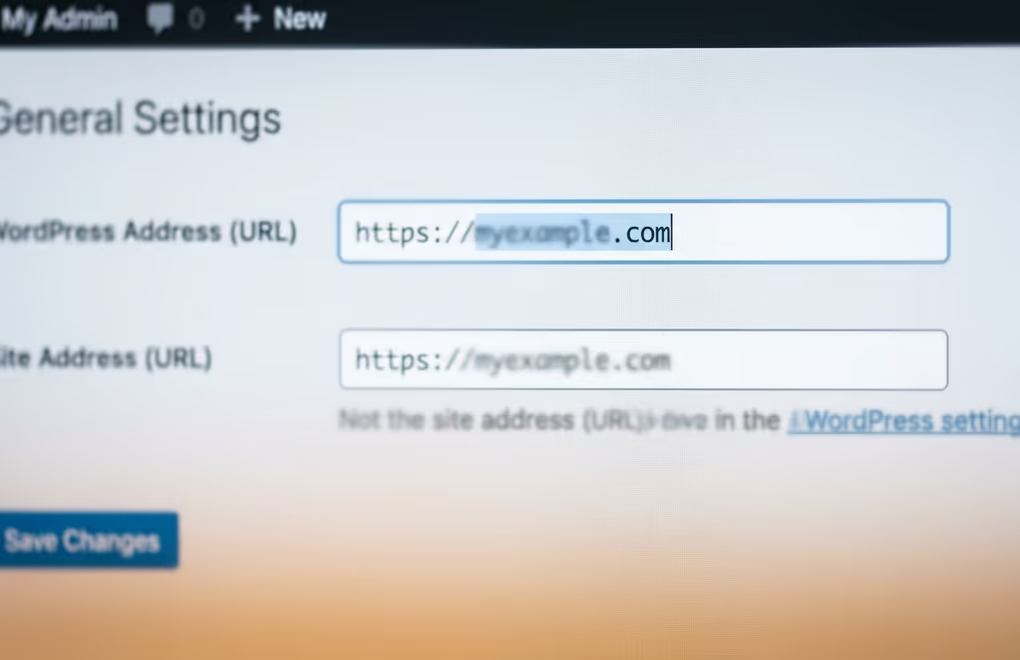
Installing the certificate on the server is the first half. The second half is telling WordPress to use HTTPS everywhere. Without this step, your site might load over HTTPS if someone types the URL manually, but internal links, images, stylesheets, and scripts may still reference the old HTTP URLs, which triggers mixed content warnings and a broken padlock.
Start with the two URL fields in Settings, then General. Change both “WordPress Address (URL)” and “Site Address (URL)” from “http://” to “https://”. Click Save Changes, and WordPress will log you out and redirect to the HTTPS version of the login page. If you get locked out because something goes wrong, you can fix these values directly in wp-config.php by adding two lines near the top of the file:
define(‘WP_HOME’, ‘https://yourdomain.com’); and define(‘WP_SITEURL’, ‘https://yourdomain.com’);
Next, set up a server-level redirect so that every HTTP request automatically goes to HTTPS. On Apache (the most common WordPress server), add this to your .htaccess file: RewriteEngine On / RewriteCond %{HTTPS} off / RewriteRule ^(.*)$ https://%{HTTP_HOST}%{REQUEST_URI} [L,R=301]. On Nginx, add return 301 https://$server_name$request_uri; inside the server block that listens on port 80. Most hosting control panels do this for you when you enable “Force HTTPS”, so check there first before editing config files manually.
The third step is replacing old HTTP URLs in your database. WordPress stores every URL as an absolute path, so if you originally set up the site with “http://”, your post content, image sources, widget text, menu links, and option values all contain “http://” references. These become mixed content when the page loads over HTTPS. The safest way to fix them is with the Better Search Replace plugin: search for “http://yourdomain.com” and replace with “https://yourdomain.com”. Run a dry run first to see how many replacements it finds, then do the real run. After that, deactivate and delete the plugin because you won’t need it again.
If your theme or plugins hardcode HTTP URLs in their code (which still happens with older themes), the mixed content won’t go away with a database search-replace alone. In that case, check the browser console for specific mixed content errors, trace them to the source file, and either update the theme/plugin or contact the developer. Updating to a modern block theme often eliminates these issues because block themes generate their markup at render time and respect the WordPress URL settings.
How do you fix common SSL errors in WordPress?
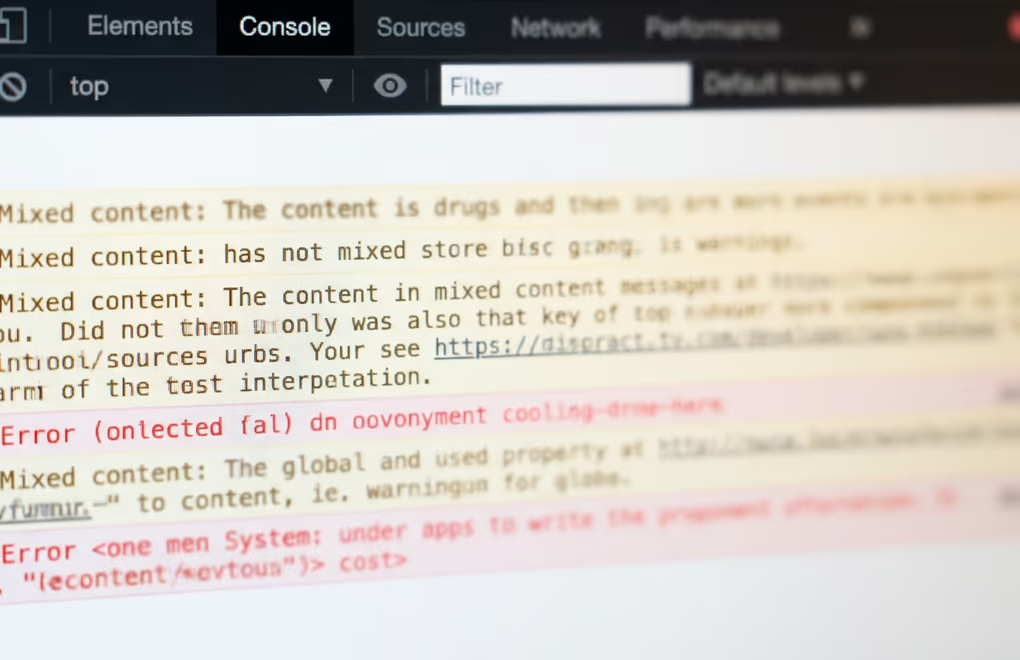
The most common SSL problem in WordPress is the mixed content warning. Your certificate is valid and the page loads over HTTPS, but some images, scripts, or stylesheets still reference “http://” URLs. The browser blocks insecure scripts and shows a warning about insecure images. You’ll see “Mixed Content” errors in the Chrome console (F12, then Console tab), and each error tells you the exact URL of the resource loading over HTTP. Fix them one by one: most are old image URLs in post content (fixed by the search-replace above), hardcoded theme assets (fixed by updating the theme), or external resources like fonts or tracking scripts loaded over HTTP (fixed by changing their URL to the HTTPS version or finding an HTTPS alternative).
The second most common problem is the infinite redirect loop, also known as “ERR_TOO_MANY_REDIRECTS”. This happens when your server redirects HTTP to HTTPS, but WordPress or a plugin redirects HTTPS back to HTTP, or when Cloudflare’s SSL mode is set to “Flexible” while your origin server also has a certificate. The browser bounces between the two forever. To fix it, first clear your browser cookies for the site. Then check your wp-config.php for any forced protocol constants. If you use Cloudflare, switch SSL/TLS mode to “Full (Strict)”. If the problem persists, temporarily rename your .htaccess file via FTP to rule out conflicting redirect rules, then regenerate it from Settings, then Permalinks in WordPress.
Expired certificates cause a full-page browser warning that says “Your connection is not private” with error code NET::ERR_CERT_DATE_INVALID. Let’s Encrypt certificates are valid for 90 days and renew automatically, but auto-renewal can fail silently if your server’s cron job breaks or if the domain’s DNS changes. Log into your hosting panel and check the certificate status. On cPanel, run AutoSSL again from the SSL/TLS Status panel. On a VPS, run sudo certbot renew –dry-run to test the renewal process. If it fails, Certbot’s output tells you why, which is usually a DNS issue or a port 80 firewall rule blocking the validation challenge.
Certificate name mismatch errors (NET::ERR_CERT_COMMON_NAME_INVALID) appear when your certificate covers “yourdomain.com” but you’re accessing “www.yourdomain.com”, or vice versa. The fix is to request a certificate that covers both variants. Certbot does this by default if you specify both: sudo certbot –nginx -d yourdomain.com -d www.yourdomain.com. Let’s Encrypt also supports wildcard certificates (*.yourdomain.com) if you use DNS validation instead of HTTP validation.
One less obvious issue is HSTS (HTTP Strict Transport Security). Once you’re confident your SSL setup is stable, adding the HSTS header tells browsers to always use HTTPS for your domain, even if someone types “http://”. Add it to your server config: Strict-Transport-Security: max-age=31536000; includeSubDomains. Start with a short max-age (like 300 seconds) to test, then increase to a full year (31536000) once you’re sure everything works. Be careful with HSTS: once a browser receives this header, it won’t connect over HTTP until the max-age expires, so make sure your certificate renewal is reliable first.
Does SSL affect WordPress speed and performance?
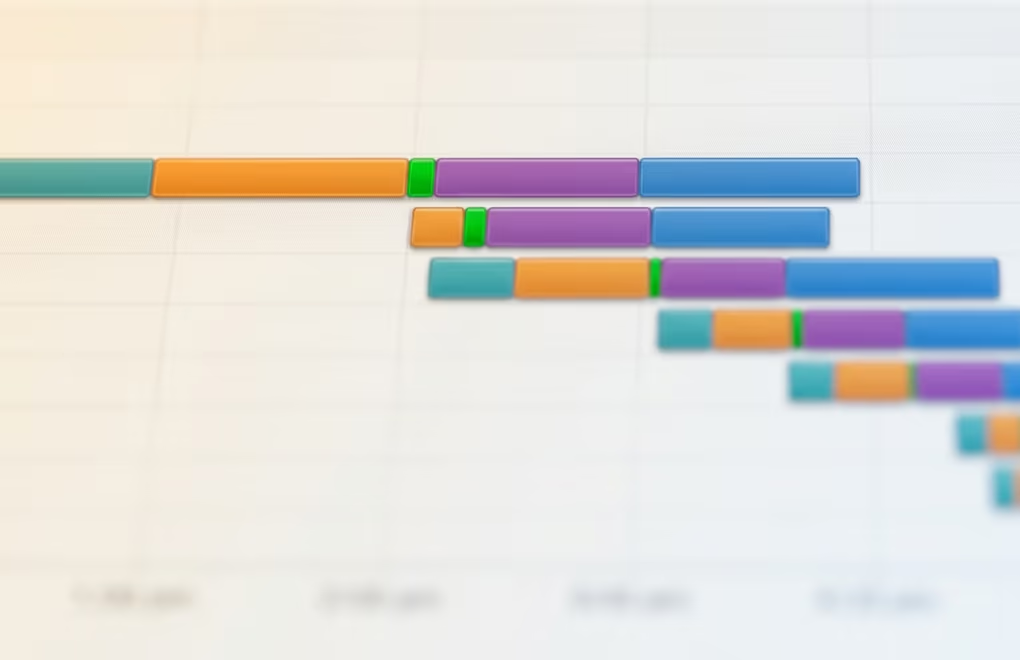
The short answer is no, not in any way your visitors would notice. The TLS handshake that establishes the encrypted connection adds a few milliseconds to the initial request, but modern protocols and hardware have made this overhead negligible. TLS 1.3, which all current browsers and most WordPress hosts support, reduced the handshake from two round trips to one, and a resumed connection (which is what repeat visitors use) completes in zero additional round trips.
The performance concern that actually matters is HTTP/2, and it works in your favor. HTTP/2 requires HTTPS in every major browser, and it is significantly faster than HTTP/1.1 for loading WordPress pages because it multiplexes multiple requests over a single connection, compresses headers, and supports server push. So enabling HTTPS doesn’t just encrypt your site; it gives you access to a faster protocol. If your hosting runs LiteSpeed or a modern Nginx config, you’re already on HTTP/2 (or even HTTP/3 with QUIC) as long as HTTPS is active.
Some WordPress site owners worry about the CPU cost of encryption, which was a legitimate concern ten years ago on shared hosting with weak processors. Modern CPUs have hardware-accelerated AES encryption, and the computational cost of TLS is under 1% of total server load on any reasonably provisioned host. Even the cheapest $5/month VPS handles TLS without measurable slowdown.
Where SSL does interact with WordPress performance is caching. If you use a caching plugin like WP Rocket, W3 Total Cache, or LiteSpeed Cache, make sure the cache serves HTTPS URLs. Most caching plugins detect the protocol automatically, but if you switched from HTTP to HTTPS without clearing the cache, you might serve stale HTTP pages from cache. Clear the full page cache after enabling HTTPS, and verify that cached pages load correctly by checking the page source for any remaining “http://” references.
Your WordPress SSL checklist for 2026
Running a WordPress site without SSL in 2026 isn’t really an option. Chrome 154 will warn every visitor who lands on an HTTP page, Google gives HTTPS pages a ranking advantage, and your site gains HTTP/2 performance benefits the moment a valid certificate is in place. The entire setup, from certificate to WordPress configuration, takes less than an hour on most hosts and costs nothing when you use Let’s Encrypt.
If you’re starting a new WordPress site, most hosts handle SSL automatically. Check that both URL fields in Settings, then General say “https://”, verify the padlock in your browser, and run your domain through SSL Labs to confirm you’re scoring an A. For existing sites that still show mixed content warnings, the database search-replace approach clears most issues in one pass, and tracing the remaining errors through Chrome DevTools catches whatever the replace missed.
The common mistakes are predictable and fixable: redirect loops from Cloudflare’s Flexible mode, expired certificates from broken auto-renewal, mixed content from old hardcoded URLs, and name mismatches from missing the “www” variant. Each one has a specific, quick solution. Once your certificate is stable and renewing properly, add the HSTS header to lock in HTTPS permanently, and you won’t need to think about SSL again until you change hosting providers.
For stronger site-wide protection beyond SSL, a WordPress security plugin adds firewall rules, login protection, and malware scanning on top of the encryption that your certificate provides.




0 Comments on "WordPress SSL Certificate: How to Install, Configure, and Fix Common Errors"